How to Install Shutters on Your Home

Need a fun weekend project that will easily up your curbside appeal? Installing shutters on your home might just be what you want to spend your weekend doing. Exterior shutters aren’t just eye candy. They’re also wonderfully practical. Functional swinging exterior shutters are easy to open and close for climate control and privacy. Keep your house cool on those hot summer days by closing the shutters and blocking some of the glare from the sun. Or use them to make your home more private and keep prying eyes from peering in. With this easy step-by-step guide, you’ll learn what you need to add charming and functional shutters to your home.
Choosing Shutters

When choosing what window shutters will work for you, there are a few things to keep in mind: size, material, style, hardware, and color.
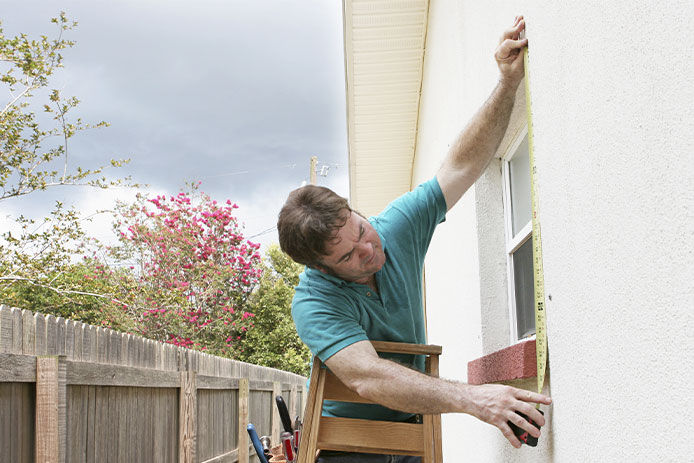
Size: You want to be sure to choose a shutter size that fits your windows both functionally and aesthetically. Generally, shutters should match the height of the window or door you are adding them to. Remember to measure your windows to ensure you buy the right-sized shutters.
Material: Materials for shutters include vinyl and wood. While wood is more traditional, vinyl is a popular choice because it is affordable and resists fading, rot, cracking, and peeling. But for those looking for a more classic look, wooden shutters are more desirable.
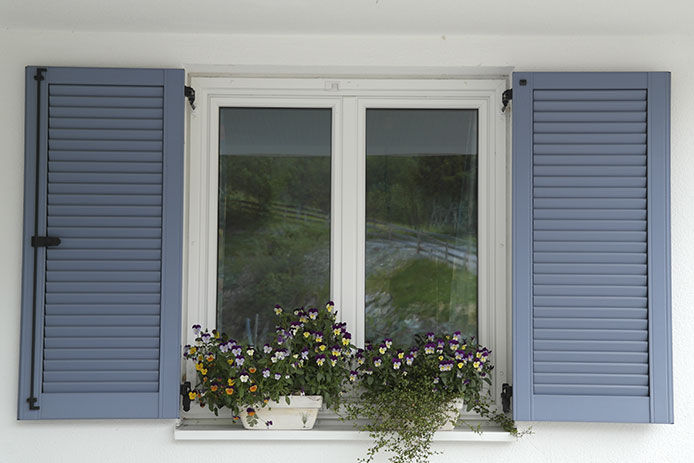
Style: Shutters come in various styles and shapes. Popular styles are louvered, raised panel, or board and batten. While each style has its perks and drawbacks, you should primarily focus on your aesthetic and what will look best in your house.
Hardware: Hardware is what you need to hang up your shutters. Typically you can find hardware that will match your shutters, though in some cases people like to get as creative with their hardware as they do with their shutters. Different colors, materials, styles, and shapes will give you some room to choose what look suits your overall aesthetic the best.
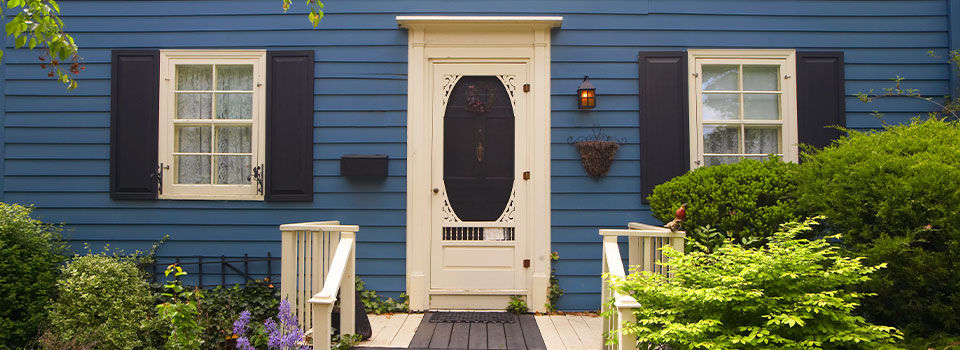
Color: While some shutters come pre-painted, you can also choose your own color scheme for your shutters. Some popular colors are farmhouse red, classic black, colonial greens, and blues, or simple neutrals like gray and beige. Shutter color is important, as it can change the entire exterior aesthetic of your home. Be sure your choice of color complements and accents your exterior in a way that looks appealing.
Tools and Materials

Installing shutters on your home isn’t rocket science, but it does take some moderate skill and a few tools. This is what you can expect to need:
- Drill, Driver, and Bits
- Tape Measurer
- Level
- Ladder
- Shutters
- Mounting Screws and Hardware
- Tool Belt
Step by Step

Once you have collected your shutters, materials, and tools, it’s time to install them in your home. Depending on how many windows you have, this could take you an afternoon or the whole weekend, so be sure to plan accordingly. If you are painting or repainting shutters before installing, you will need to apply primer, at least two coats of paint or finish, and let them dry completely before installing them on your house. This will take time, so do budget in some extra days!
- To hang stationary shutters, you want to start by holding the shutters in place on either end of the window and using a pencil to mark where to drill your screws. Push the pencil through the holes to mark where to put your screws. Then, use a drill to secure the shutter to your house with screws without over-tightening. If you are installing vinyl siding, you will want to leave some space between the shutter and the house because vinyl expands and contracts with the weather. If you’re installing on masonry, be sure to use a masonry bit and wall anchors to attach the shutters to mortar, avoiding the brick.
- Functional exterior shutters are attached in a way that they can swing open and shut. They attach to the trim or casing around the window and rest flush with the casing when closed and latched. When open, shutters should easily swing out and attach to a hook or catch. Shutters are meant to fit inside the casing, not hang outside of it. Otherwise, they won’t close properly.
- Position the shutters in the window opening and shim them into place. Be sure that they’re centered and surrounded by a 1/4 inch gap on all sides for good measure. This is how you’re going to place them to be hung, so be sure you’ve got it perfect.
- Start with attaching the upper hinges. Position them at the top of the shutter and use a pencil to mark the placements for the screws on the shutter and casing. Use a level to be sure that everything is level and flush for when the hinges will be screwed onto the shutter and the casing.
- Using a drill with a drill bit that’s fitted for your hardware screws, drill the holes where you’ve made the marks and then screw pilot holes into the casing and shutters. Use the upper placement of hardware as a reference for the positioning and marking for the lower hinge.
- Now that you’ve positioned your shutters and marked and drilled holes for the hardware, remove the shutters and lay them out on two sawhorses to attach all the hardware. Screw the hinges into the position where you drilled the holes. You can also attach pull rings and bolts.
- Now it’s time to hang the shutters in place! Mount the shutters by screwing them to the casing and make sure they swing comfortably and close all the way. Once they are hanging, you can attach any other exterior hardware, like the hook or catch that will hold the shutters open and locks.
- For wooden shutters, use copper capping and slide it over the top edge of the shutters to give them some extra protection from the elements.
And just like that, your shutters are installed on your home! Whether you’re choosing fixed or functional shutters, this relatively easy DIY project will add a whole new dimension to the aesthetic and appeal of your home.
While do-it-yourself projects can be fun and fulfilling, there is always a potential for personal injury or property damage. We strongly suggest that any project beyond your abilities be left to licensed professionals such as electricians, plumbers, and carpenters. Any action you take upon the information on this website is strictly at your own risk, and we assume no responsibility or liability for the contents of this article.